The Insperates Journal
How to Use a Digital Planner on iPad: A Simple Beginner’s Guide
From your first tap to your first planned week—a gentle guide to creating a planning space that feels like you.
Let’s get started ↓
Your first digital planner can feel exciting—and a little confusing.
You open it on your iPad, see the tabs and planning pages, and wonder: Where do I start? How do I write on it? Do I need to fill in everything?
The good news is that digital planning doesn’t have to be complicated.
You can start with one page, a few priorities, and a simple plan for tomorrow. This guide will walk you through how to use a digital planner on iPad, from choosing an app to building a planning routine that fits your everyday life.
Understand How a Digital Planner Works
Many digital planners are PDF files designed to look and feel like a paper planner.
They contain pages for monthly calendars, weekly schedules, daily tasks, goals, habits, and notes.
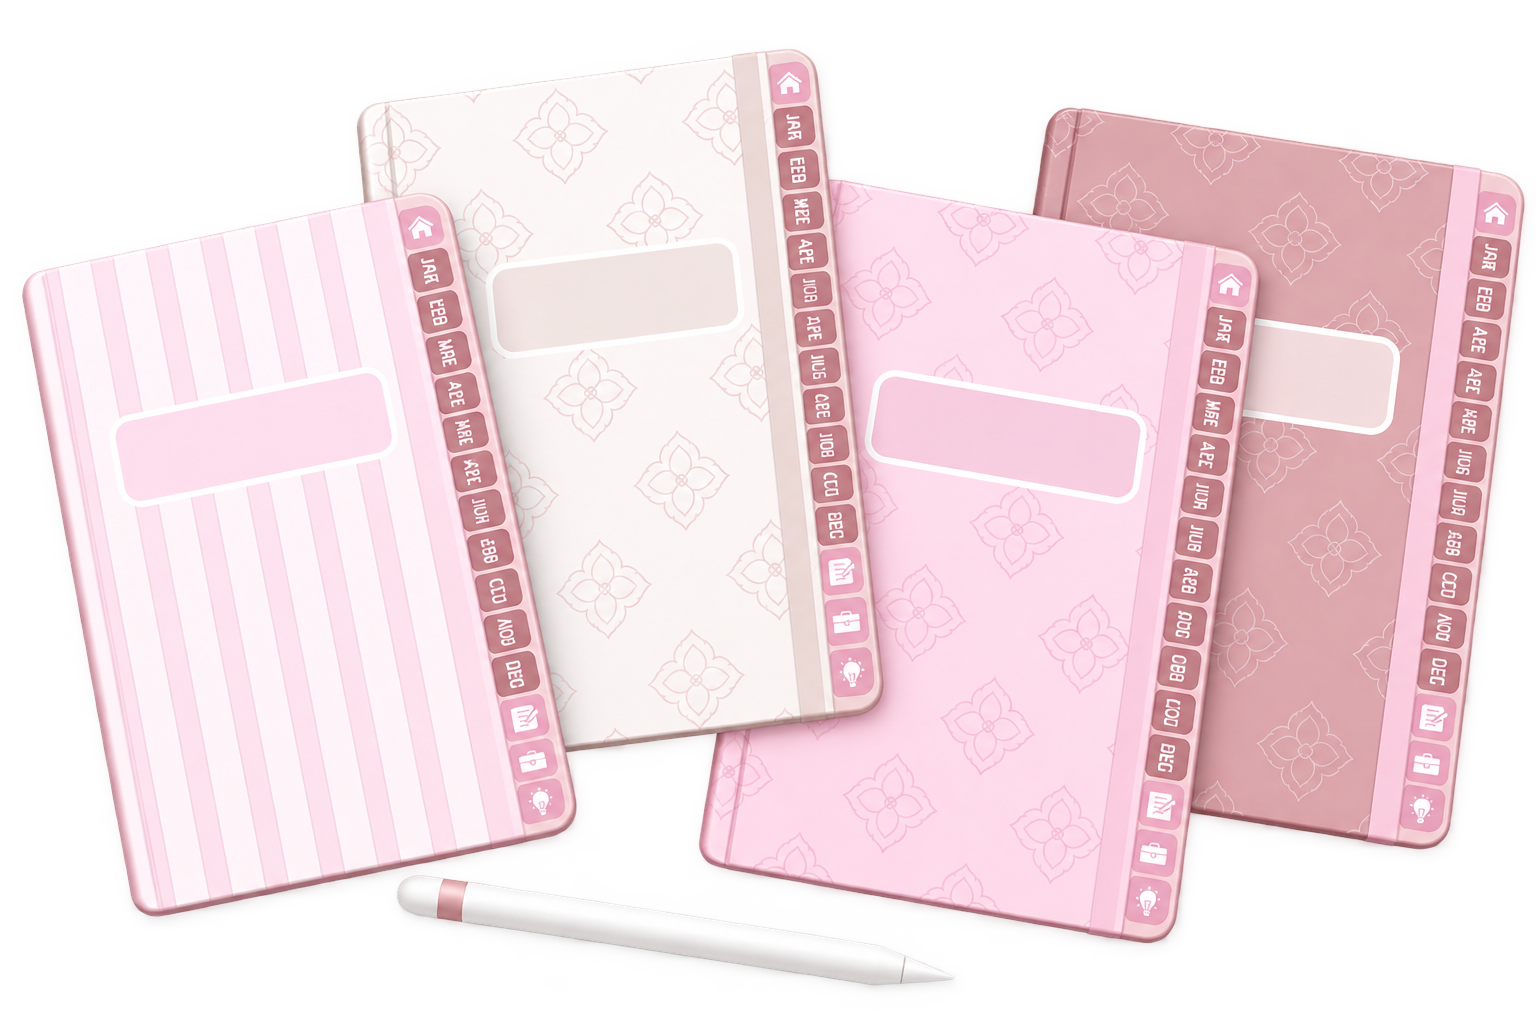
A hyperlinked digital planner also includes clickable tabs or buttons. These help you move between sections without scrolling through every page.
The planner provides the layout. A compatible app gives you the tools to write, type, highlight, and add images.
Use an App That Fits Your Needs
To use a PDF digital planner on your iPad, you’ll need an app that lets you annotate PDFs.
Options to explore include Freenotes, Notability, and Goodnotes. Choose an app that fits the way you like to plan, whether you prefer typing, handwriting, or combining both.
Before choosing, check whether it supports the features you need:
- Importing your planner PDF.
- Following hyperlinks between planner pages.
- Adding text boxes and handwritten notes.
- Inserting images and stickers.
- Saving, exporting, and backing up your plans.
Features and pricing can vary, so check what’s included before committing.
An Apple Pencil or compatible stylus can be helpful for handwriting, but you can also plan with text boxes if your chosen app supports them.
Start with a few basic tools and get comfortable using them. You can explore more features as you go.
Import Your Planner Into Your Chosen App
Download your digital planner, then import the PDF into the app you’ve chosen. The exact steps vary by app, so look for an option such as Import, Open, or Add a document.
Before planning your first day, take a little time to explore and experiment:
- Tap the tabs to see how to navigate between sections.
- Try writing by hand and adding text boxes.
- Practice erasing handwriting and deleting text or images.
- Explore the lasso tool to select and move items, depending on what your app supports.
- Add a sticker and try resizing or moving it.
You don’t need to master every tool right away. The more you use your planner, the more comfortable these actions will become.
Get Comfortable With the Navigation
Find the monthly, weekly, and daily pages. Then look for any sections you might want to use later, such as habits, finances, routines, or notes.
Try moving from a month to a week, then to a daily page.
If a tab doesn’t respond, check whether your app requires a reading or navigation mode to follow links. In some apps, writing tools can interfere with tapping hyperlinks.
You don’t need to learn every page immediately. For your first week, focus on the sections you’ll actually use.
A monthly calendar, a weekly overview, and a daily page are plenty to begin with.

Choose Between Typing and Handwriting
There’s no single correct way to fill in a digital planner.
You can write by hand, type your entries, or combine both.
Typing in Your Digital Planner
If you prefer a neat, consistent look, use your app’s text tool to add a text box over the area you want to fill.
Depending on the app, you may be able to change the font, size, and color.
For a simple setup, choose:
- One readable font.
- A comfortable text size.
- A dark color for everyday entries.
- One accent color for important items.
Not every PDF planner has built-in fillable fields. You may need to create text boxes yourself.
Writing by Hand
If you enjoy handwriting, choose your pen tool and test a few pen sizes.
Zooming in can make small sections easier to fill. You can also use a highlighter to mark priorities or separate different types of tasks.
Combining Both
You might type appointments and task lists, then handwrite personal notes or reflections.
Choose the approach that makes planning easy enough to repeat. Your pages don’t need to look like anyone else’s.
Start With Your Monthly Calendar
Your monthly calendar helps you see what’s coming before you plan the details.
Add the commitments you already know about:
- Appointments.
- Birthdays.
- Work deadlines.
- Trips.
- Events.
- Important personal dates.
Keep these entries brief. You can add more detail to your weekly or daily pages later.
If you’re using an undated planner, enter the month and dates before adding your plans. Check that the dates match the correct weekdays.
This overview helps you notice busy periods and avoid placing too many extra tasks around them.
Plan Your First Week
Next, open a weekly page and add your fixed commitments.
Then choose a few things you would like to move forward during the week.
For example:
- Finish a project draft.
- Exercise twice.
- Prepare meals for a few days.
- Organize one area of your home.
- Make time to rest.
Give each important task a realistic place in the week.
You might plan to work on your project on Monday, run errands on Wednesday, and review your planner on Sunday.
Leave some space for unexpected changes. A useful weekly plan gives you direction while allowing your days to shift.

Fill In One Daily Page
Now choose a day and make a simple plan.
Start with your appointments, then select your top three priorities. Add any smaller tasks underneath.
Here’s an example:
A little everyday inspiration
Top priorities
- Finish the first project draft.
- Update one website page.
- Prepare for tomorrow’s appointment.
Schedule
- Review plans and messages.
- Work on the project draft.
- Lunch and a short break.
- Update the website page.
- Walk or stretch.
Other tasks
- Reply to two emails.
- Order household essentials.
- Prepare things for tomorrow.
If your planner includes a wellness section, add something useful to you, such as meals, movement, or sleep.
Add Extra Sections Gradually
A planner may include many pages, but you don’t have to use them all at once.
Once your daily and weekly planning feel comfortable, choose one additional section.
A habit tracker can help you record a routine you’re working on. A finance page can give you a place to review spending. A notes section can hold ideas you want to return to.
Start with one or two habits rather than tracking every part of your life.
For example:
- Read before bed.
- Prepare tomorrow’s priorities.
- Take a short walk.
Keep the sections that help you make decisions or remember things. You can return to the others whenever you need them.
Make Your Planner Feel Personal
Part of the enjoyment of digital planning is creating a space you like opening.
You can add a favorite color, a small sticker, or an image that makes the page feel more like yours.
Try a simple color system:
Keep your appointments and tasks easy to read. Decoration should leave enough room for the information you need.
A few small touches can make your planner feel inviting without turning every page into a design project.
Build a Small Planning Routine
Your planner becomes more useful when you return to it regularly.
Try attaching planning to something that already happens in your day.
You could check your planner after breakfast, before starting work, or during your evening wind-down.
A simple routine might look like this:
Keep unfinished tasks intentional. Before moving one forward, ask whether it still matters, needs a smaller first step, or can be removed.
Protect Your Plans With a Backup
Once you begin adding information, check how your app saves and backs up your documents.
Syncing and backups work differently across apps. Make sure you understand where your planner is stored and how you would restore it if needed.
If your app supports exporting an annotated PDF, you can periodically save a copy that includes your entries.
Keep an untouched copy of your original planner file separate from your filled-in version. Check that any exported copy contains the notes you expect.

Keep it simple
Common Beginner Mistakes to Avoid
Trying to Use Every Page Immediately
Start with a few essential pages. Add more when you have a reason to use them.
Spending More Time Decorating Than Planning
Write down your commitments and priorities first. Add decoration afterward if you enjoy it.
Creating an Unrealistic Schedule
Leave room for breaks, transitions, and unexpected tasks. A schedule that is too full becomes difficult to follow.
Expecting a PDF to Work Like a Calendar App
Use your planner to organize and review your plans. Set reminders separately when you need an alert.
A few things you might be wondering
Frequently Asked Questions
Do I Need an Apple Pencil to Use a Digital Planner?
No, provided your chosen app supports typing or other suitable input tools. A stylus is useful for handwriting, but you can fill in a planner with text boxes instead.
Can I Type in a Digital Planner?
Yes, if your PDF annotation app supports adding text. Some planners have fillable fields, while others require you to place text boxes over the page.
Which App Should I Use for Digital Planning?
Freenotes, Notability, and Goodnotes are options to explore. Choose based on your preferred planning style, budget, and the features you need. Check PDF import, hyperlink support, text tools, and backup options before deciding.
Why Aren’t My Planner Tabs Working?
Check whether your app supports PDF hyperlinks and whether you need to switch out of writing mode to follow them. If the links still don’t work, consult the app’s instructions or contact the planner creator.
Can I Start a Digital Planner in the Middle of the Year?
Yes. An undated planner lets you add your own dates and begin whenever you like. With a dated planner, you can go directly to the current month.
Will My Planner Send Me Reminders?
A PDF planner generally won’t send reminders by itself. Use a calendar or reminder app for appointments and tasks that need notifications.
What Should I Put in My First Digital Planner?
Begin with appointments, three daily priorities, and a short task list. Add habits, goals, finances, and other sections as you become comfortable.
Make Your Planner Part of Everyday Life
Learning how to use a digital planner on iPad starts with a few small actions.
Open your planner. Find tomorrow’s page. Add your commitments and choose three priorities.
Then return to it the next day.
Over time, your planner can become a familiar place to organize your schedule, collect ideas, and give your plans a little more direction.
Your plans, beautifully together
Make Space for What Matters
Looking for a planner that brings different parts of your life together? Explore Insperates digital planners and create a planning space for your days, routines, goals, and notes.
Explore digital planners →